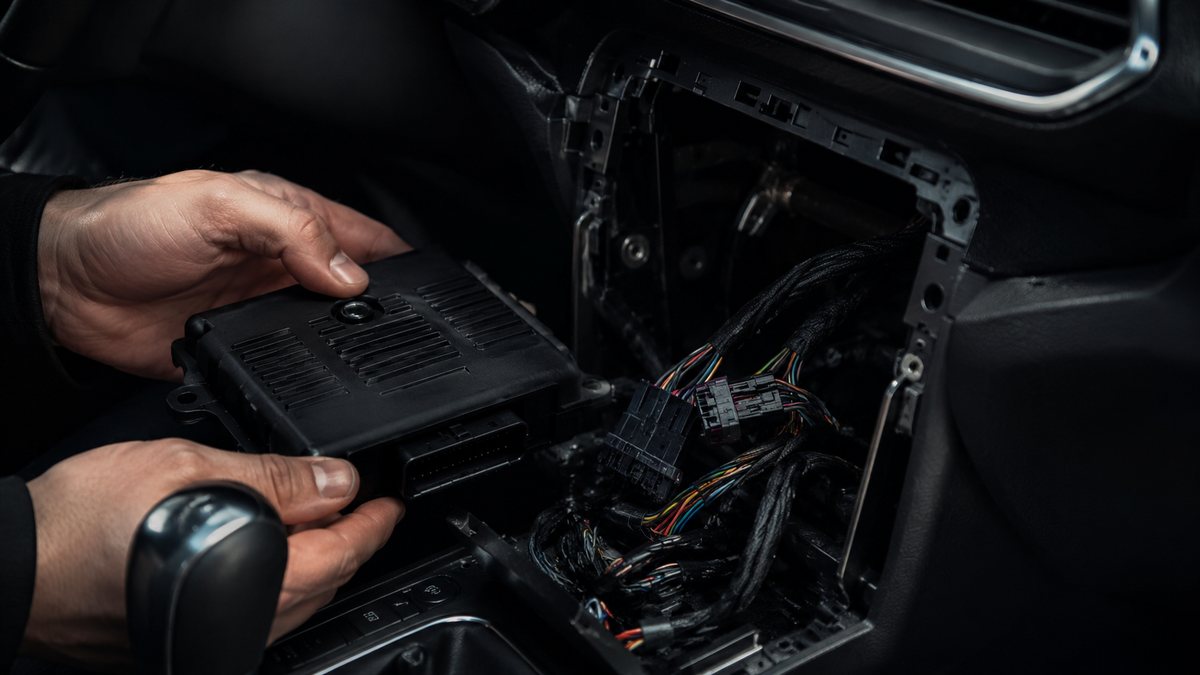
Activar cámara trasera tras reequipamiento en Audi TT III (8S/FV)
To activate the reversing camera after it has been installed on the MMI (camera retrofit Low or High).
Guía de codificación para Activar cámara trasera tras reequipamiento en Audi TT III (8S/FV). Compatible con VCDS / VAG-COM · OBDeleven (cuando la propia ficha lo indica). La ruta manual mostrada está documentada con VCDS / VAG-COM. Consulta el módulo, el tipo de codificación, el canal o Byte/Bit y los valores necesarios antes de realizar el cambio.
💡
¿Es tu primera codificación? Consulta qué son un Byte, un Bit, Coding y Adaptation y dónde encontrarlos.
Antes de modificar: guarda o fotografía siempre el valor original. Una codificación incorrecta puede provocar fallos y algunas funciones dependen del hardware y versión de centralita.
| Estado | 🟠 Depende de centralita/software |
|---|---|
| Módulo | 5F - Electr. information |
| Tipo | Procedure |
| Herramientas compatibles | VCDS / VAG-COM · OBDeleven (cuando la propia ficha lo indica) |
| Procedimiento documentado con | VCDS / VAG-COM |
| Security Access | 20103 |
Operaciones técnicas
| Operación | Módulo | Tipo | Canal / Byte-Bit | Original | Valor |
|---|---|---|---|---|---|
| Operación 1 | 5F - Electr. information | Long Coding | | High reversing camera (dynamic guide lines, various viewing modes) | |
| Operación 2 | 19 - CAN Gateway | Long Coding | | Installation List” 5 – Tick: “6C – Rear View Camera ” in the list 6 – Save coding | |
| Operación 3 | 6C - Rear view camera | Long Coding | | byte 07 Then check bit 0, 1, 2 and 4 | |
| Operación 4 | 5F - Electr. information | Long Coding | Byte 19 → Bit 4 | byte 19 Then disable bit 4 | |
| Operación 5 | 5F - Electr. information | Adaptation | Car Function List BAP Gen2 – VPS_0x0B | active ” value | |
| Operación 6 | 5F - Electr. information | Adaptation | Car Function List BAP Gen2 – VPS_0x0B_msg_bus | value “ Comfort data bus | |
| Operación 7 | 10 - Parking assistance | Long Coding | | byte 02 Then bit 4-5 select “10 Camera Type: Rear View Camera (RVC) installed |
Vehículos compatibles
- Audi TT III (8S/FV) · 2014–2023
Procedimiento manual documentado con VCDS / VAG-COM
- 1 – Engine off, ignition off, connect your official VAG-COM VCDS cable to the computer, then plug the other end into your vehicle’s diagnostics socket.
- 2 – Switch on the ignition and run the VCDS program. Procedure:
- 1 – Engine off, ignition off, connect your official VAG-COM VCDS cable to the computer, then plug the other end into your vehicle’s diagnostics socket. Camera Low (standard) Line 1:
- 3 – Click on “Select” then click on “5F – Electr. information ”.
- 4 – Click on “Security Access – 16 ” then enter the code “20103 ”.
- 5 – Click on “Coding – 07 ” then click on “Long Coding Helper ”.
- 6 – Select byte 19 Then check bit 4 “Rear View Camera (RVC) Low installed (PR-KA1)”. Line 2 (Option, if parking assistance available) :
- 3 – Click on “Select ”, then click on “
- 10 – Parking assistance ”.
- 4 – Click on “Coding – 07 ” then click on “Long Coding Helper ”.
- 5 – Select byte 02 Then bit 4-5 select “10 Camera Type: Rear View Camera (RVC) installed” . Hardware upgrade : The camera’s video cable is connected to the infotainment control unit. It is installed in the glovebox. The 2 pins of the reversing camera are used in the 12-pin quadlock (blue). Usable cable set: Part no. 000 979 009 E Quadblock Assignment : Pin 6 = video line Pin 12 = shielding Camera High Activate High reversing camera (dynamic guide lines, various viewing modes). Line 1:
- 3 – Click on “Select” , then click on “
- 19 – CAN Gateway ”.
- 4 – Select “Installation List”
- 5 – Tick: “6C – Rear View Camera ” in the list
- 6 – Save coding Line 2:
- 3 – Click on “Select” , then click on “6C – Rear view camera ”.
- 6 – Select byte 07 Then check bit 0, 1, 2 and 4 Line 3:
- 6 – Select byte 19 Then disable bit 4 Line 4:
- 5 – Click on “Adaptation – 10 ”.
- 6 – On this page, at the very top, there is a drop-down menu. In this drop-down menu, choose “ Car Function List BAP Gen2 – VPS_0x0B ”
- 7 – On this same page, there is a second drop-down menu at the bottom of the page. On this menu, choose the “active ” value. Line 5:
- 6 – On this page, at the very top, there is a drop-down menu. In this drop-down menu, choose “ Car Function List BAP Gen2 – VPS_0x0B_msg_bus ”
- 7 – On this same page, there is a second drop-down menu, but at the bottom of the page. On this menu, choose the value “ Comfort data bus ” Line 6 :
- 5 – Select byte 02 Then bit 4-5 select “10 Camera Type: Rear View Camera (RVC) installed” .
Observaciones
Procedimiento extraído del volcado local completo de VAG-Coding. Conservar las condiciones, variantes de hardware/SFD y alternativas descritas en los pasos de la fuente.